Setup: connect your Rane One
Skratch Attach works with the Rane One MK1 and MK2 out of the box — no mapping files, no configuration wizard.
1. Plug in
Connect the Rane One to your Mac, iPad, or iPhone over USB and launch the app. The device is detected automatically — the app recognizes which model you have (MK1 or MK2) and loads the right profile, lighting the pads and syncing the controls.
The app runs in landscape only on every device, and on a phone it remembers which way you were holding it for next launch.
No controller? See Standalone mode.
2. Audio
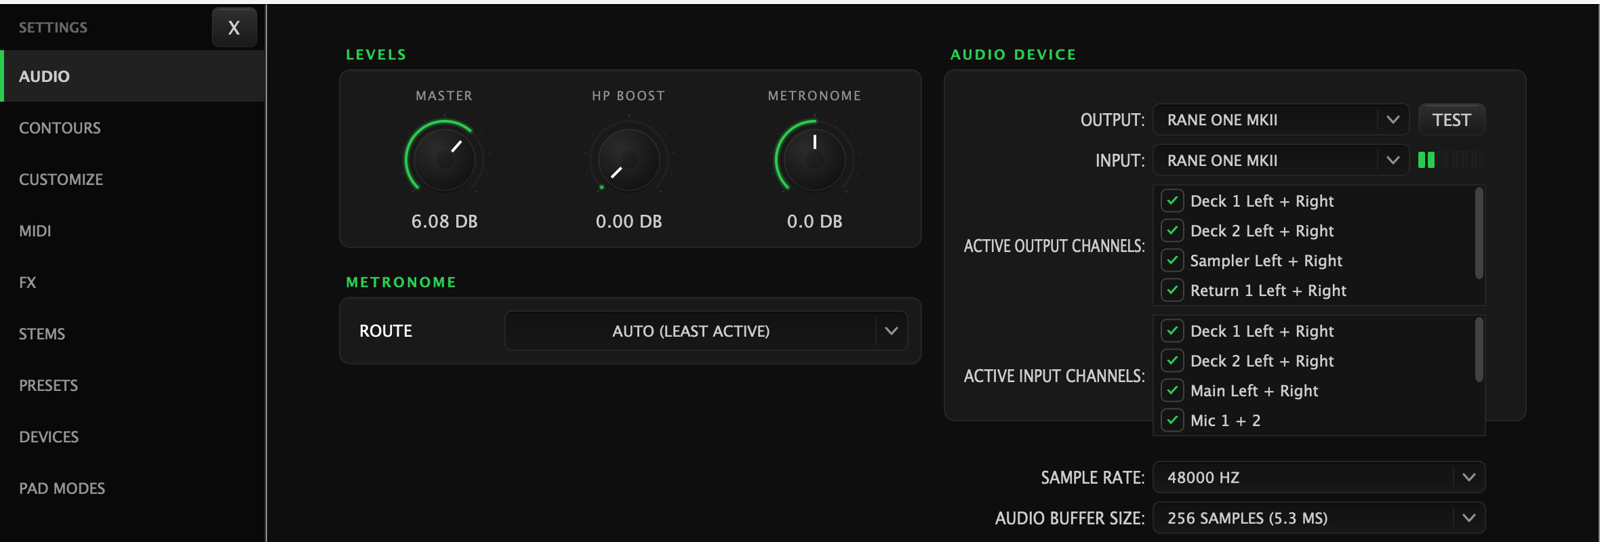
The Rane One is the app's audio interface. Skratch Attach configures it at 48 kHz automatically. Check Settings → Audio for:
- Master gain and headphone gain
- Metronome volume and which channel carries the click
- Phono input selection — if you're running control vinyl (DVS), tell the app which inputs your turntables land on, then head to DVS setup
3. Your files
There are two Skratch Attach folders, and knowing which is which saves a lot of hunting.
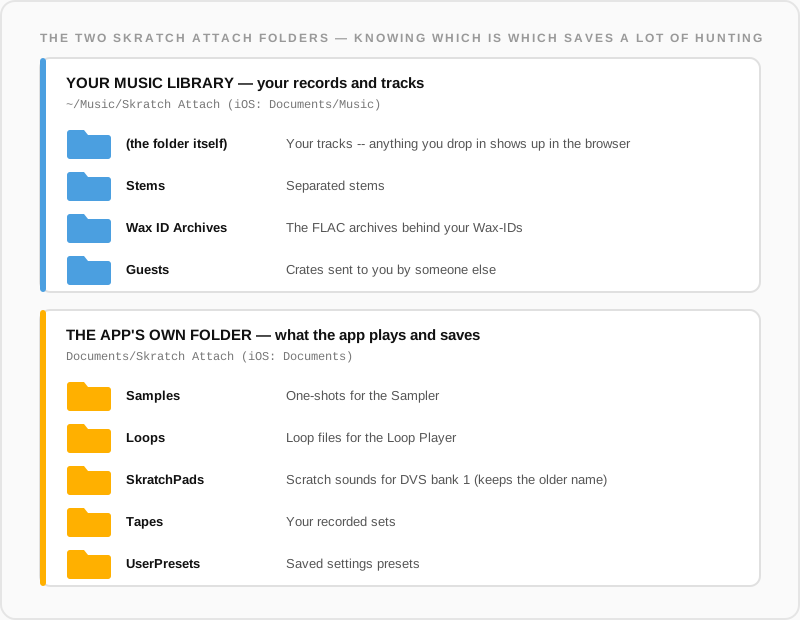
Your music library — ~/Music/Skratch Attach on Mac, Documents/Music
on iOS:
| Folder | What goes there |
|---|---|
| (the folder itself) | Your tracks. Anything you drop in shows up in the browser |
Stems | Separated stems |
Wax ID Archives | The FLAC archives behind your Wax-IDs |
Guests | Crates sent to you by someone else |
The app's own folder — Documents/Skratch Attach on Mac,
Documents on iOS:
| Folder | What goes there |
|---|---|
Samples | One-shots for the Sampler |
Loops | Loop files for the Loop Player |
SkratchPads | Scratch sounds for DVS bank 1 (the folder keeps the older name) |
Tapes | Your recorded sets |
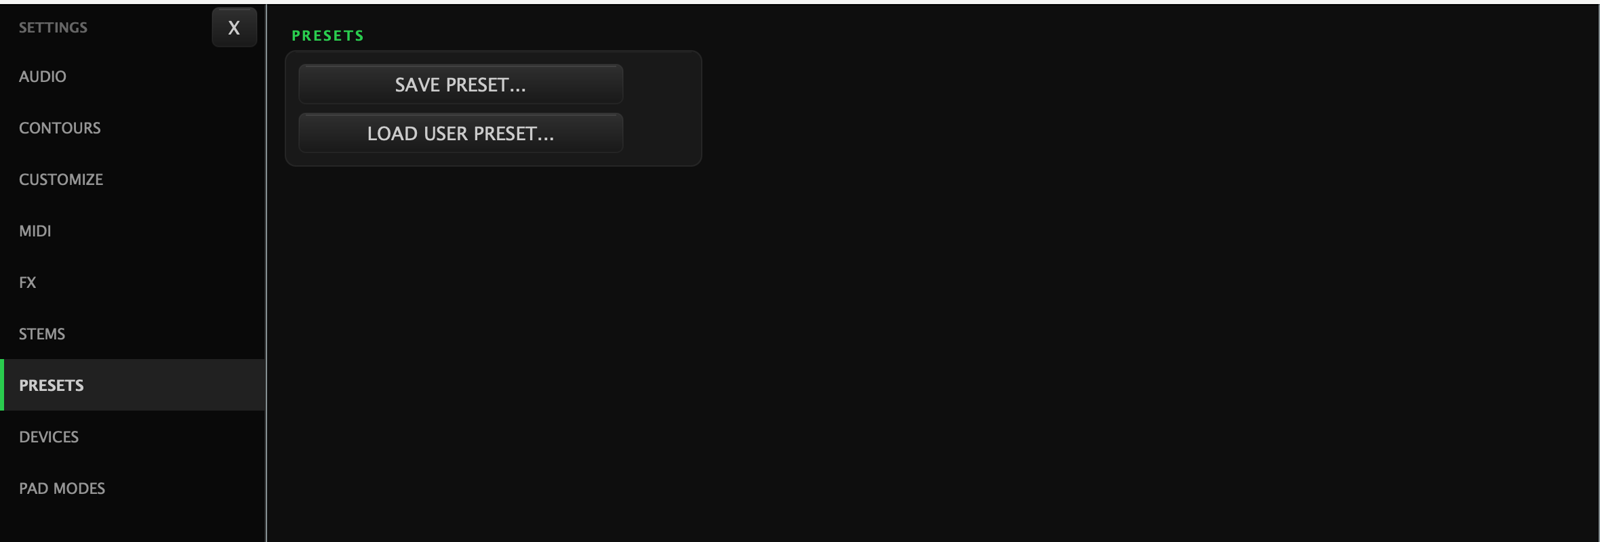
UserPresets | Saved settings presets — Settings → Presets saves and loads them |
Drop files in with Finder or the Files app and they appear in the app's browsers.
Next steps
- Screen tour — what everything on screen is
- Platter gestures — the three gestures you won't find by tapping around
- Pad modes overview — what the five mode buttons actually do (the printed labels lie!)