Live Looper
Record loops from your decks in real time, straight onto the pads. Live Looper is the first of the five pad modes — on the Rane One it's the mode button printed HOT CUE, and the first button on the on-screen pad mode bar.
The big idea: one master, seven followers
- Pad 1 is the master. The first loop you record on it sets the loop length for the whole deck.
- Pads 2–8 are followers. Each records for exactly one master loop length and stays locked in sync with the master.
You build a groove by laying the master down first, then stacking follower loops on top.
Recording your first loop
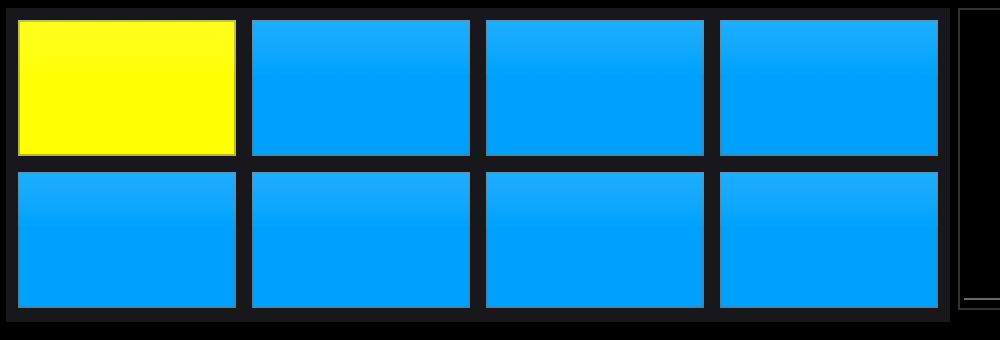
- Tap pad 1. It flashes (white alternating with the mode color) and then holds yellow — armed and ready.
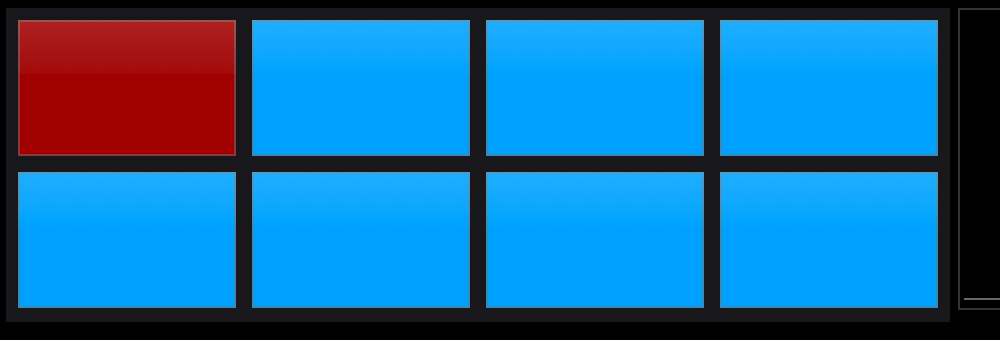
- Tap it again to start recording. The pad turns solid red.
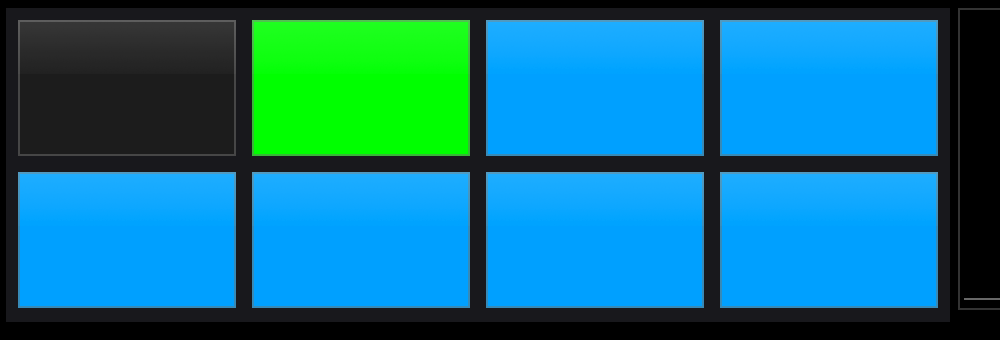
- Tap a third time to stop. The loop starts playing back immediately and the pad turns green.
The on-screen pads, step by step. Armed and waiting:
Recording:
Playing and muted, side by side -- pad 2 is playing its loop (green) and pad 1 has been muted (dark):
With the metronome on, it's even simpler: recording waits for beat "1" automatically (the pad holds yellow while it waits), and your loop length is snapped to the nearest bar when you stop. Arming and waiting collapse into a single press.
Without the metronome, a master recording maxes out at 10 seconds — it stops automatically if you hit the cap.
Adding follower loops
While the master is playing (or recording), tap any other pad to arm it. It waits for the master loop to come back around, records exactly one full cycle, then drops straight into playback — perfectly in time.
If you arm a follower before the master has anything recorded, the pad flashes red briefly to say "record a master first."
Controlling loops
| Action | How |
|---|---|
| Mute / unmute a playing loop | Tap its pad (LED goes dark when muted, green when playing) |
| Restart a paused loop | Tap the pad (paused pads hold yellow) |
| Clear a single pad | Shift + tap the pad |
| Stop and clear everything | The Reset Loops button — bright when loops are playing, dim when idle |
Pad colors at a glance
| Color | Meaning |
|---|---|
| Aqua | Idle, post-fader mode |
| Magenta | Idle, pre-fader mode |
| White ↔ color flash | Arming (flash count is adjustable, 1–8) |
| Yellow | Armed and waiting / paused with a loop loaded |
| Solid red | Recording |
| Green | Playing |
| Dark / off | Playing but muted |
| Brief red flash | Error — master isn't ready yet |
Pre-fader vs post-fader recording
Two dedicated buttons switch what the looper records:
- Post-fader (idle pads show aqua): records what the audience hears — fader position, EQ, and cuts included. Great for capturing scratches and chops as performed.
- Pre-fader (idle pads show magenta): records the raw deck signal regardless of where the fader sits — you can record a loop silently while the crowd hears something else.
X10 Mode (a.k.a. James Mode)
A cross-deck super-mode for building full arrangements:
- One global master for both decks — pad 1 or pad 5 on either deck.
- The top row of pads records from a deck's vinyl; the bottom row records from the sampler.
- Source Deck 1 / 2 buttons choose which deck's vinyl feeds the top row, so a follower on deck 2 can record what deck 1 is playing.
- X10 forces post-fader recording and activates on both decks at once.
- Clearing the global master resets every pad on both decks.
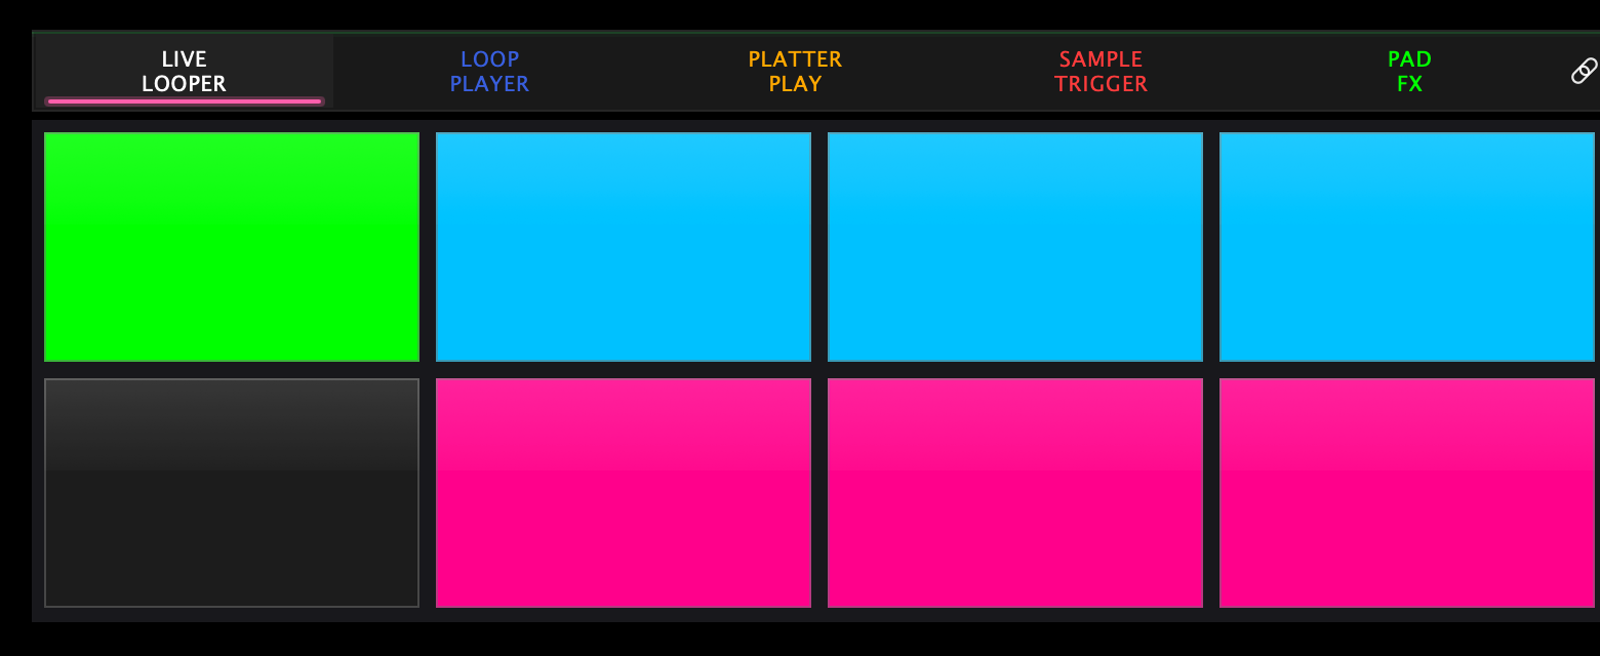
You can see X10 at a glance in the pad colours: the top row wears the post-fader colour and the bottom row the pre-fader one, because the two rows are listening to different things.
Settings
Settings → Pad Modes → Live Looper:
- Post-Fader Default — which recording mode the looper starts in
- X10 Mode Default — start with X10 engaged
- Per-Beat Loop Sync — follower sync granularity

- Flash count (arming blink length) is set from the hardware with the flash +/− buttons, per deck
Good to know
- The on-screen pads can run Live Looper independently of the hardware pads — e.g. loop on screen while your hardware pads stay in Sampler mode. The chain icon at the end of the pad mode bar is the switch — see Pad modes overview.
- Re-tapping the Live Looper mode button switches to its secondary mode.
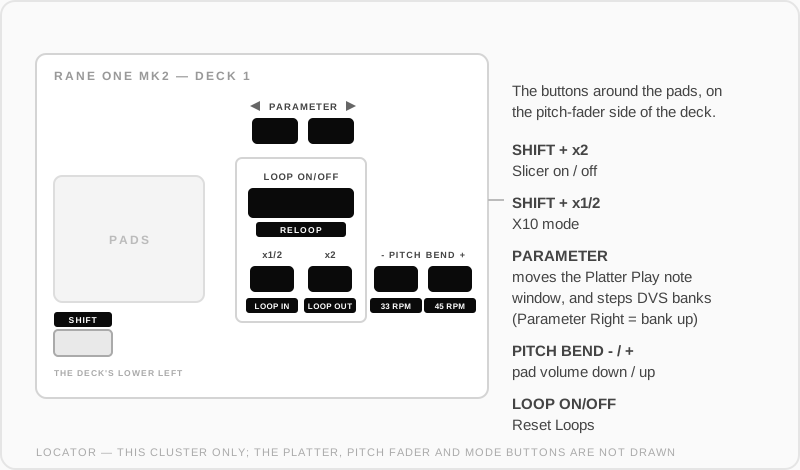
- Once loops are running, SHIFT + LOOP OUT (printed x2) opens the Slicer — a beat slicer that stutters slices of your master loop on the opposite pad surface.
Where those buttons are: